
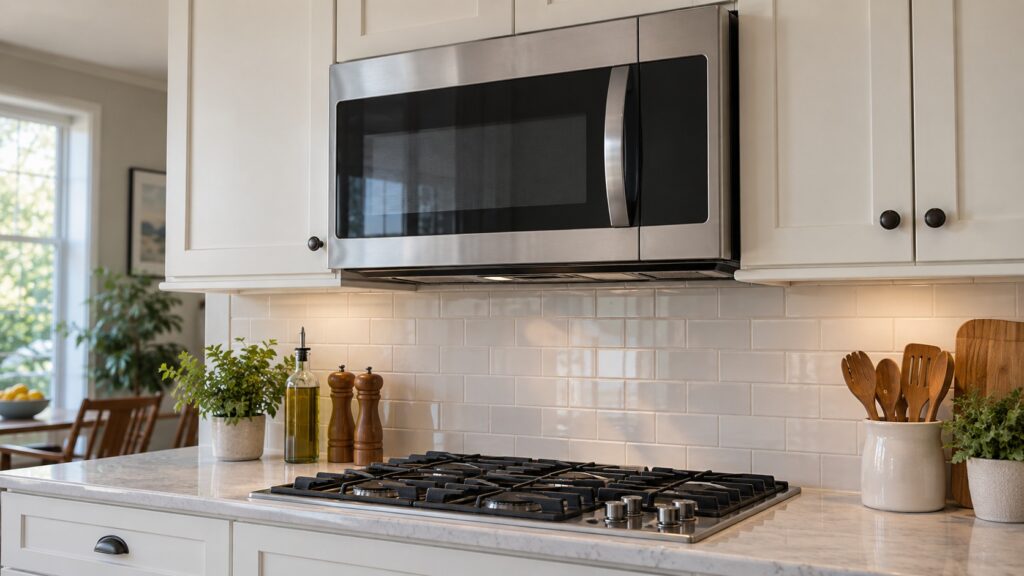
An over-the-range microwave is two appliances bolted together: a microwave oven and the range hood for the cooktop below it. A samsung over the range microwave installation therefore has to satisfy two sets of requirements at once — the electrical and mounting needs of a heavy appliance, and the ventilation needs of whatever is cooking underneath. Getting the second one wrong is the mistake that matters.
Decide the venting before anything comes out of the box
There are three ways the unit can move air, and the appliance has to be configured for the one you are using.
- Vented outside through the rear wall — air exits straight back through the wall behind the unit.
- Vented outside through the roof or upward — air turns upward through the cabinet and into a duct.
- Recirculating — air passes through a charcoal filter and returns to the kitchen.
Most units ship configured for one of these and require the blower to be physically rotated and a damper or plate to be moved for the others. Skipping that step produces a hood that runs at full noise and moves almost no air, because it is pushing against a closed panel.
Recirculating is the fallback when ducting is impossible. It does something about grease and smoke and nothing at all about moisture and heat, and it needs its charcoal filter replaced periodically because it saturates rather than washes.
The mounting is structural
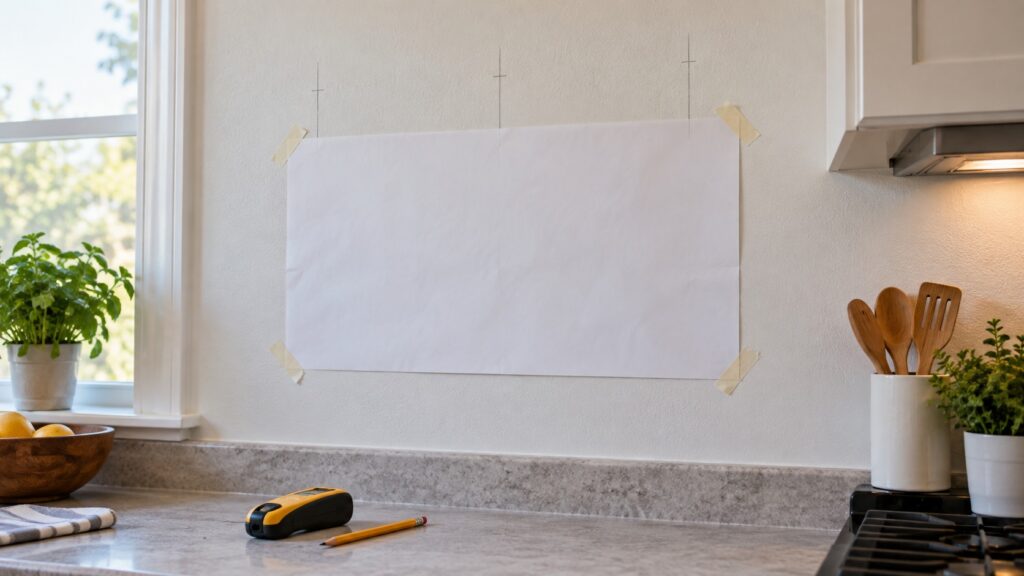
These appliances are heavy and they hang over a cooking surface, which means the mounting is not a place to improvise. The template that ships with the unit locates a wall plate that must be fixed into studs — not into drywall anchors alone — and locates the holes to be drilled through the base of the cabinet above.
The unit then hooks onto the wall plate at the bottom rear and is bolted upward into the cabinet at the front. Both parts carry load and both are needed.
Find the studs properly and mark them before drilling. If the studs do not fall where the plate needs them, that is a carpentry problem to solve before the appliance goes up, not a reason to use longer screws into plasterboard.
Height above the cooktop
There is a minimum clearance between the cooking surface and the underside of the microwave, and it is specified by the manufacturer for the model. It exists for two reasons: flames and heat from the cooktop below, and the hood’s ability to actually capture what rises.
Mounted too low, the unit is a fire risk over a gas cooktop and it makes tall stockpots unusable. Mounted too high, the capture is poor and the microwave becomes awkward to reach — remember that a full dish of hot liquid has to come down from that height.
Where the cabinet above sits at a fixed height and the clearance cannot be met, the honest answer is that this appliance does not fit that kitchen without cabinet work.
The duct run, if there is one
Rigid metal duct, as short and straight as the layout allows, terminating outside — not into an attic, not into a soffit. Every elbow costs you the equivalent of several feet of straight run, and two tight turns can halve the effective airflow.
Seal joints with foil tape rather than screws, because screw heads inside the duct collect grease. Check the exterior wall cap or roof cap opens freely and has no screen across it. And if you are reusing an existing duct from an older unit, look inside it — a decade of grease reduces the effective diameter considerably.
Electrical
The unit plugs into a grounded outlet, normally located inside the cabinet above with a hole for the cord. It should be on an adequate circuit — a microwave draws real current, and sharing a circuit with a toaster or kettle on the same counter produces trips.
Do not run it on an extension cord and do not remove the ground pin to fit an older outlet. If the outlet is the wrong type or is not there at all, that is an electrician’s job before installation day.
Filters, and the maintenance you are committing to
Grease filters sit underneath and slide out by hand. They want washing monthly with heavy cooking, quarterly otherwise — hot water, degreasing dish liquid, and a soak rather than a scrub.
If the unit is recirculating, there is also a charcoal filter behind the front grille or above the cavity. That one does not wash; it saturates and is replaced. A recirculating hood with an exhausted charcoal filter is doing nothing at all, and most people never discover it. Our microwave maintenance guide covers the routine.
First run checks
- Run the blower on high and confirm strong airflow at the exterior cap, or good movement at the recirculating outlet.
- Check the unit is level and sits flush against the wall and the cabinet.
- Test the turntable and the light, and confirm the door closes and latches cleanly.
- Heat a cup of water to confirm the microwave function before the kitchen goes back together.
- Listen for rattles at high blower speed — usually a duct joint or a filter not seated.
When to call
Call when the mounting needs structural work, when a duct run has to be made or reworked, when the outlet does not exist or is the wrong type, or when a newly installed unit moves little air despite a clear duct — that last one is usually the blower configuration. Our installation checks guide covers what to verify first.
We are an independent repair company and not a factory service arm. Pricing starts from a diagnostic visit and we confirm the estimate before any work begins. Samsung microwave repair covers blowers, doors, controls and cooking faults, and you can schedule a visit online.